The Upload Workflow: Getting Your Files into Decode
Uploading files is how you populate your Decode Tables with data from your spreadsheets (like premium or claims bordereaux). Decode provides a structured workflow to ensure data is correctly associated and tagged.
There are two main ways to upload files, accessed via the "Upload" action for a specific table:
- Direct Upload: You select a Table, a Data Profile, and the file(s). The tags are applied immediately, and the file goes directly into processing for mapping and review. This is best for files where you know the context (e.g., which contract/wholesaler it belongs to) and all files belong to the same data profile.
- Batch Upload & Allocation: You upload files without pre-assigning a Data Profile or tags. The Decode AI attempts to automatically determine the correct Data Profile based on "Key Tags" (like Contract ID) found in the file or sheet content. You then review these suggestions before the files are fully processed. This is useful for bulk uploads of sheets for different data profiles (or multiple data profiles in a single workbook) where manual tagging would be time-consuming.
Steps for Direct Upload
This is the most common method when you know the context of the file(s) you are uploading.
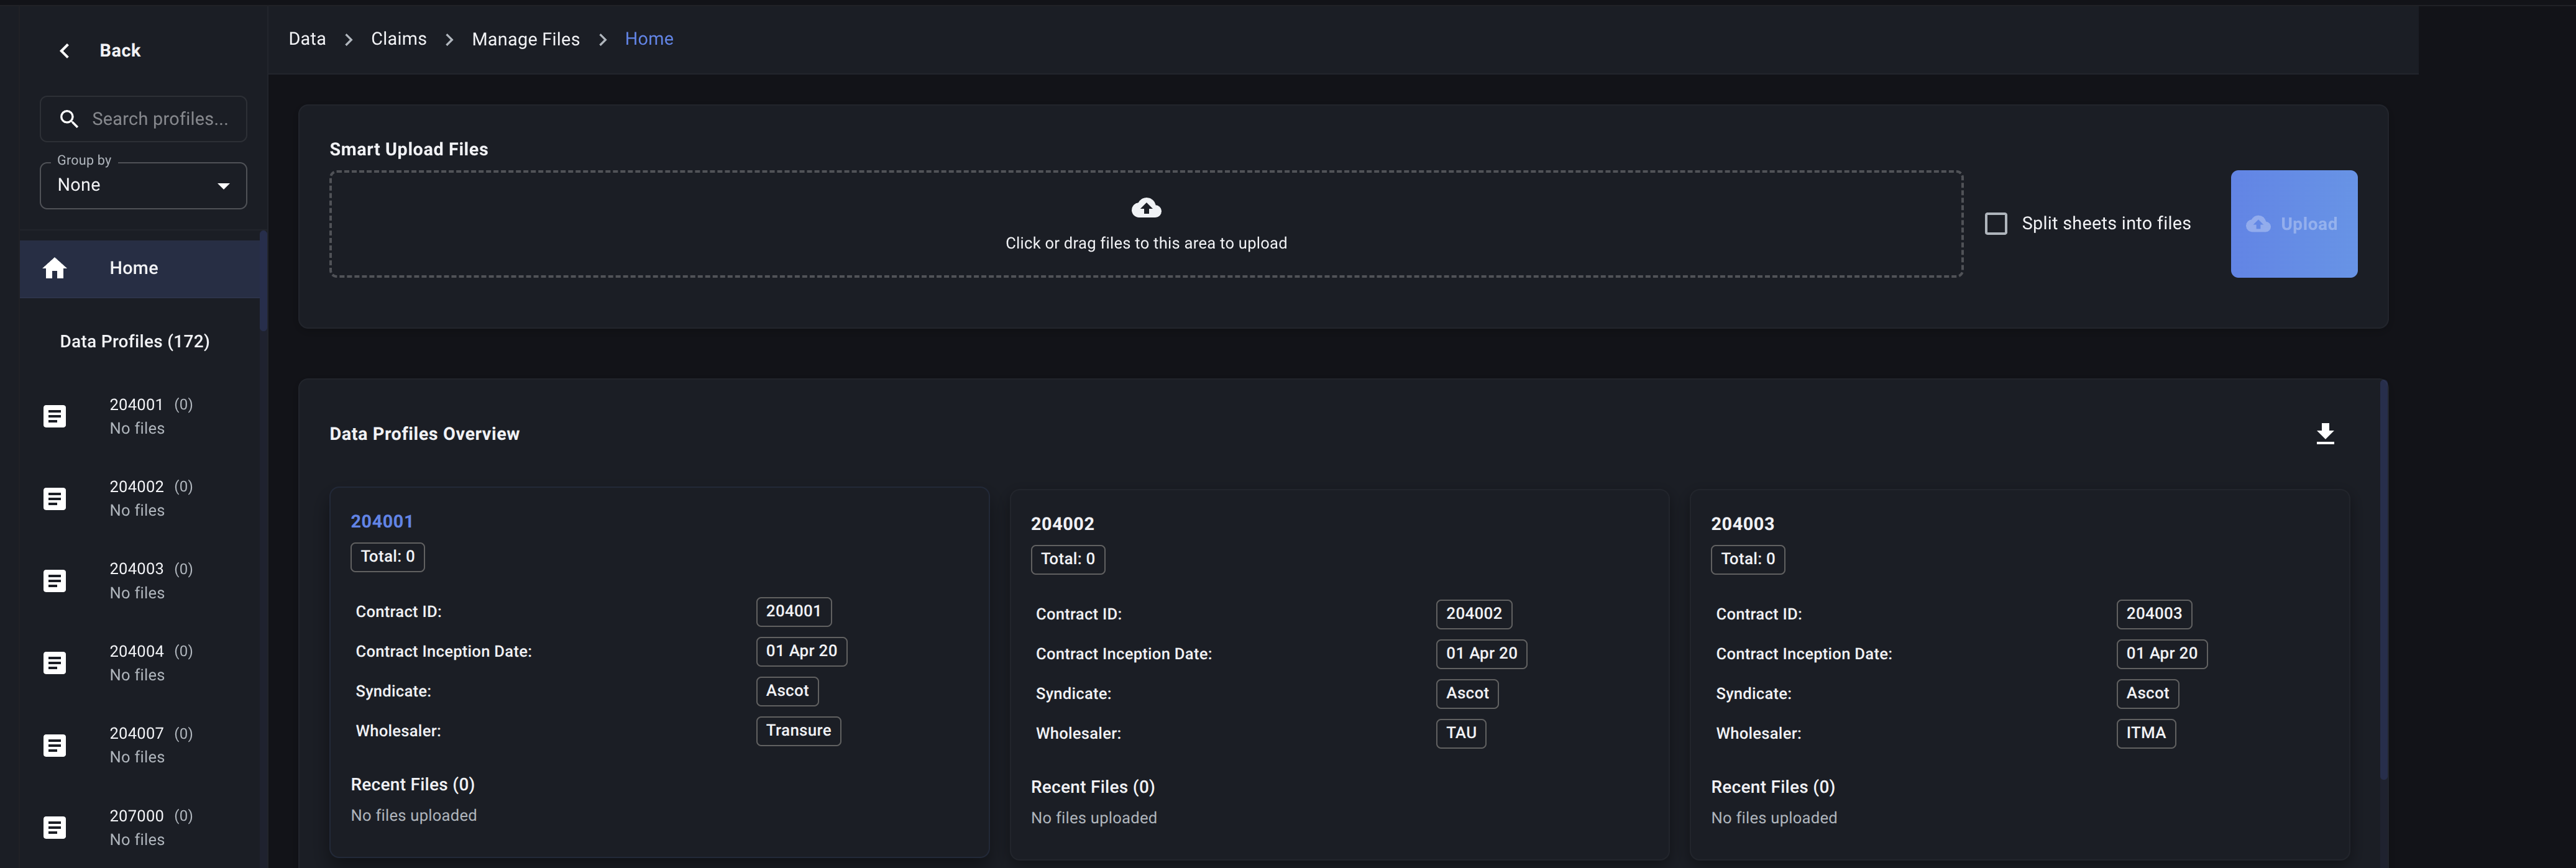
- Navigate & Select Table: Go to the Data Page and select the specific Table you want to upload data into from the sidebar list.
- Select a Data Profile: The left sidebar lists all the data profiles for the selected table. Select the data profile to which you wish to upload data.
- Initiate Upload: Click the "Upload" button associated with the selected table. This will typically open a panel.
- Upload Panel:
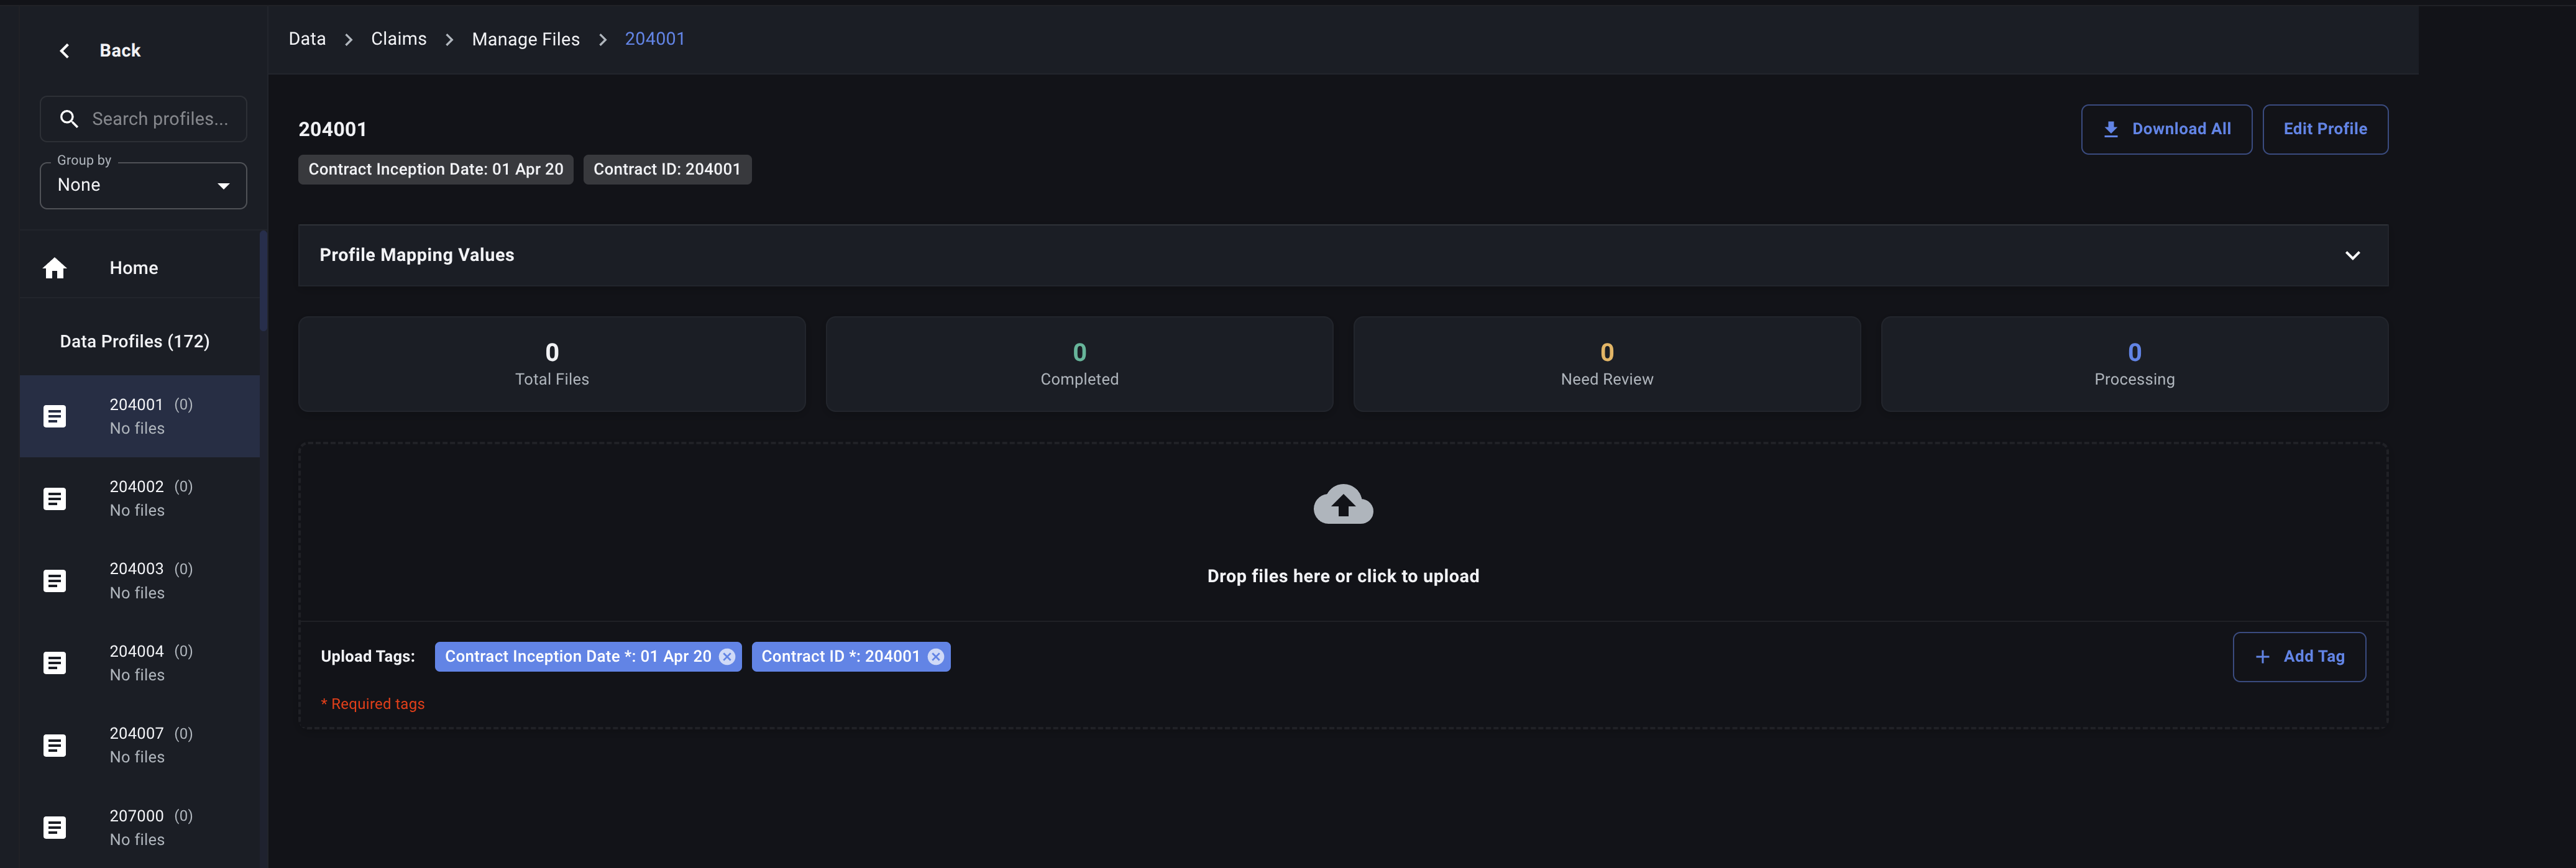
- Select Data Profile: Choose a pre-defined Data Profile from the left sidebar. This will automatically populate the default Attribute Tags associated with that profile.
- Select Files: Click the file input area (or drag and drop) to select the spreadsheet file(s) (.xlsx, .xls) you want to upload. You can select multiple files at once up to a limit of 60.
- Review: Briefly check that the correct profile/tags are selected and the desired files are listed.
What Happens Next?
- The files are securely uploaded to Decode's storage.
- Decode begins the processing and automated mapping for each sheet within the files.
- The status of the uploaded files/sheets will update, typically moving to a state requiring your review (e.g.,
PreviewReadyorMissingIdentifier). You can monitor this in the Data Profile Dashboard for the specific data profile you have selected. - Proceed to Reviewing and Approving Uploads to complete the process.
Steps for Batch Upload & Allocation
Use this method when you have many files and want Decode to help assign them to the correct Data Profiles based on their content.
- Navigate & Select Table: Go to the Data Page and select the target Table.
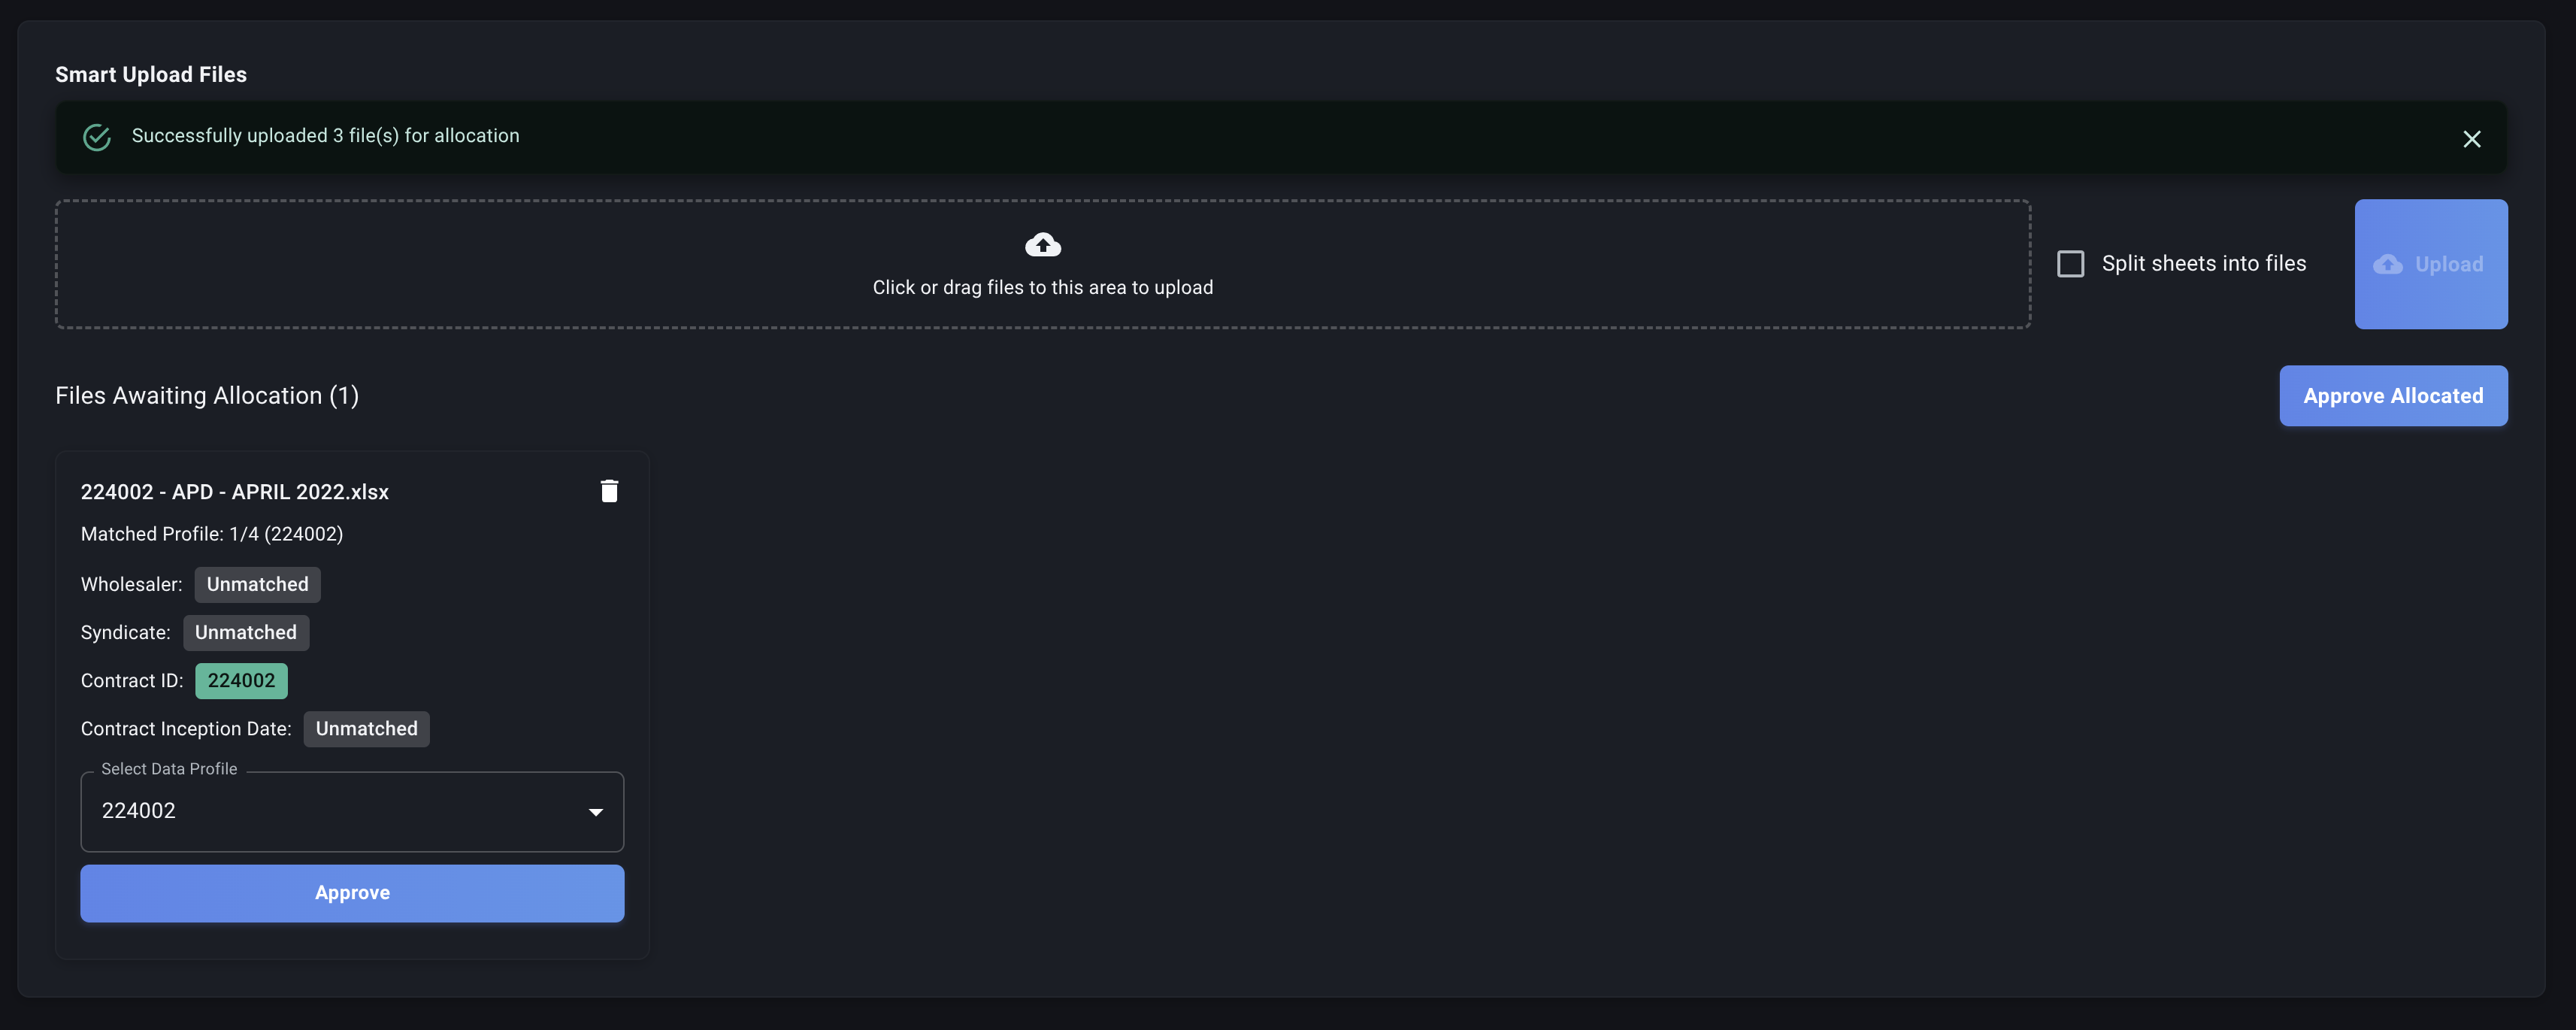
- Initiate Upload: Drag and drop files into the Smart Upload Files section.
- Click "Upload": Upload the files without assigning profiles or tags yet.
What Happens Next?
- Files are uploaded to a temporary "unallocated" area for the selected table.
- Decode uses AI analyze each file, looking for values that match Key Attributes defined in your Attribute Categories (e.g., it might find a specific
Contract IDin a file header or filename). - Based on these matches, Decode proposes the most likely Data Profile for each file.
- You will then need to go to review the suggested data profiles for each file:
- Review Decode's proposed profile for each file.
- Confirm the suggestion or manually select the correct profile if needed.
- Approve the allocation.
- Once allocated (either automatically confirmed or manually assigned), the files proceed to the standard processing and mapping stages and will require your review as usual.
Note: The Decode AI cannot allocate files to data profiles that do not exist - so ensure all necessary data profiles are set up before hand.
Choose the upload method that best suits your workflow and the information you have readily available when uploading your files. Next, let's understand the different Processing Statuses your files might go through.