Creating and Managing Data Profiles
Data Profiles allow you to save sets of default Attribute Tags for specific Tables, streamlining your upload process.
Accessing Data Profile Management
Data Profiles are managed within the context of a specific Table.
- Navigate to the Data Page.
- Select the Table you want to create or manage profiles for from the sidebar or list.
- Click the Data Profiles button below the table declaration.
- Clicking this option will open a panel showing existing profiles for that table and allowing you to create new ones.
Creating a New Data Profile
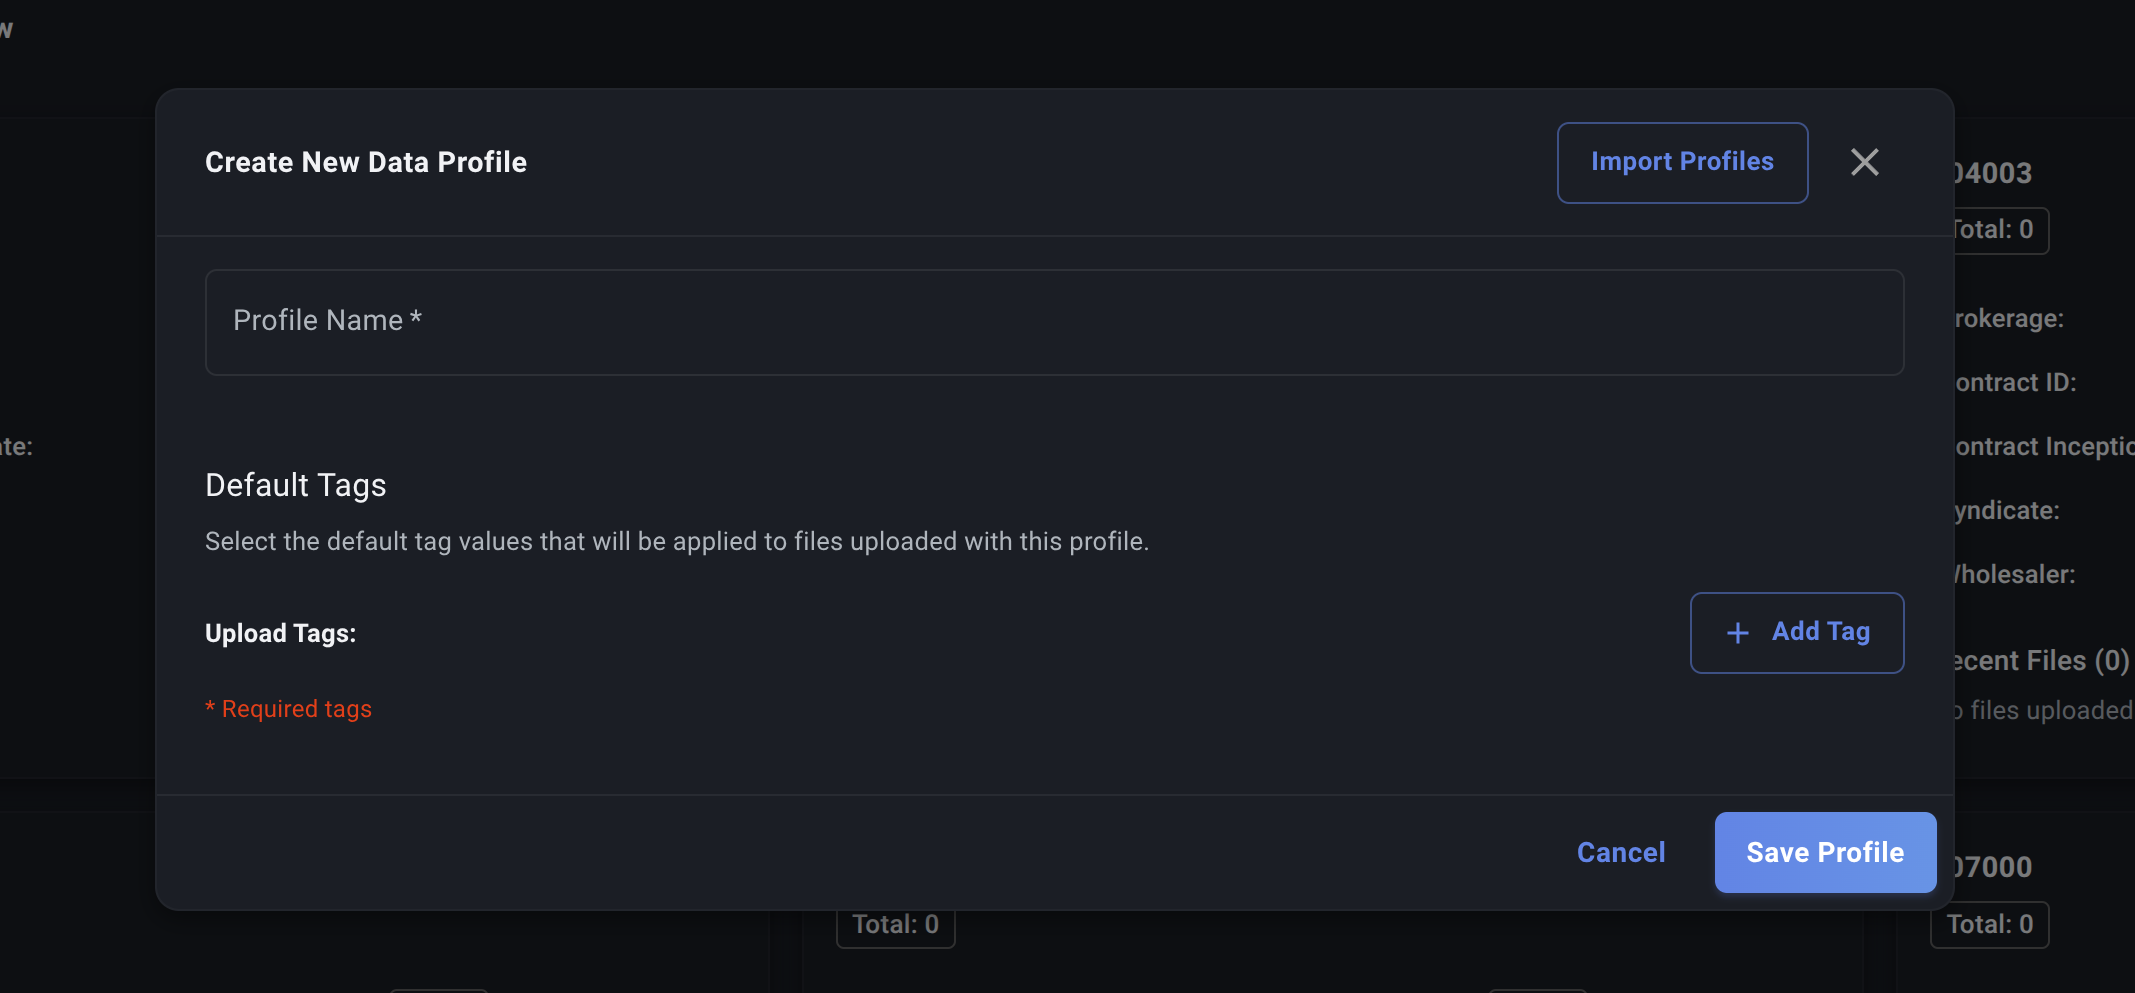
- In the Data Profile management view for your chosen table, click the "Create New Profile" button.
- A dialog box for the Data Profile Editor will appear.
-
Profile Name:
- Enter a clear, descriptive name for this profile. This name should help you easily identify the scenario it represents (e.g., "Wholesaler A - Contract C12345 Premiums", "Broker B Claims Data", or even simply the Contract ID).
- This name is how you'll select the profile during upload.
-
Assigning Default Tags:
- This is the core of the Data Profile. You'll see an area to add tags.
- Click the "Add Tag" button.
- A dropdown will appear listing the available Attribute Categories that have been defined as Attribute Columns for this specific Table.
- Select the Category you want to include in this profile (e.g.,
Wholesaler). - Another dropdown or dialog will appear, listing the Values defined within that Category.
- Select the specific Value you want to set as the default for this profile (e.g.,
Wholesaler A). - The selected tag (e.g.,
Wholesaler: Wholesaler A) will be added to the profile. - Repeat this process ("Add Tag" -> Select Category -> Select Value) for all the tags you want to include as defaults in this profile.
- Remember to include values for any Mandatory Attribute Columns defined for the table unless you intend to provide them manually during every upload using this profile.
-
Save the Profile: Once you've added all the desired default tags, click "Save Profile" or "Create Profile".
Your new Data Profile is now saved and will be available for selection when uploading files to this specific Table.
Editing an Existing Data Profile
- Access the Data Profile management view for the relevant Table.
- Find the profile you wish to edit in the list.
- Click the Edit icon (✏️) next to the profile name.
- The Data Profile Editor dialog will open, pre-filled with the profile's current settings.
- You cannot change the Profile Name after creation.
- You can add, remove, or change the selected Value for any default tag.
- Make your desired changes to the default tags.
- Click "Save Profile".
Deleting a Data Profile
- Access the Data Profile management view for the relevant Table.
- Find the profile you wish to delete.
- Click the Delete icon (🗑️) next to the profile name.
- Confirm the deletion when prompted.
Deleting a profile removes the template; it does not affect tags already applied to past uploads that used this profile.
With Data Profiles set up, your file upload process becomes significantly more efficient.